
Four steps to view MUSE data cubes

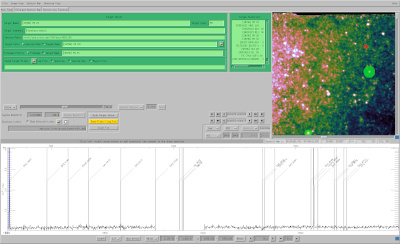
This is a quick guide to look at the contents of reduced and publicly available data cube files of the MUSE instrument. Four steps are needed to look at the data:
1) Install p3d
Download the most recent distribution file of p3d; either follow the instructions on the downloads page or get the file right away here:
.
Extract the file. In the following, the root path of the extracted files is referred to as $p3d_path (e.g., p3d_path=/home/sjoh/p3d).
Optional:
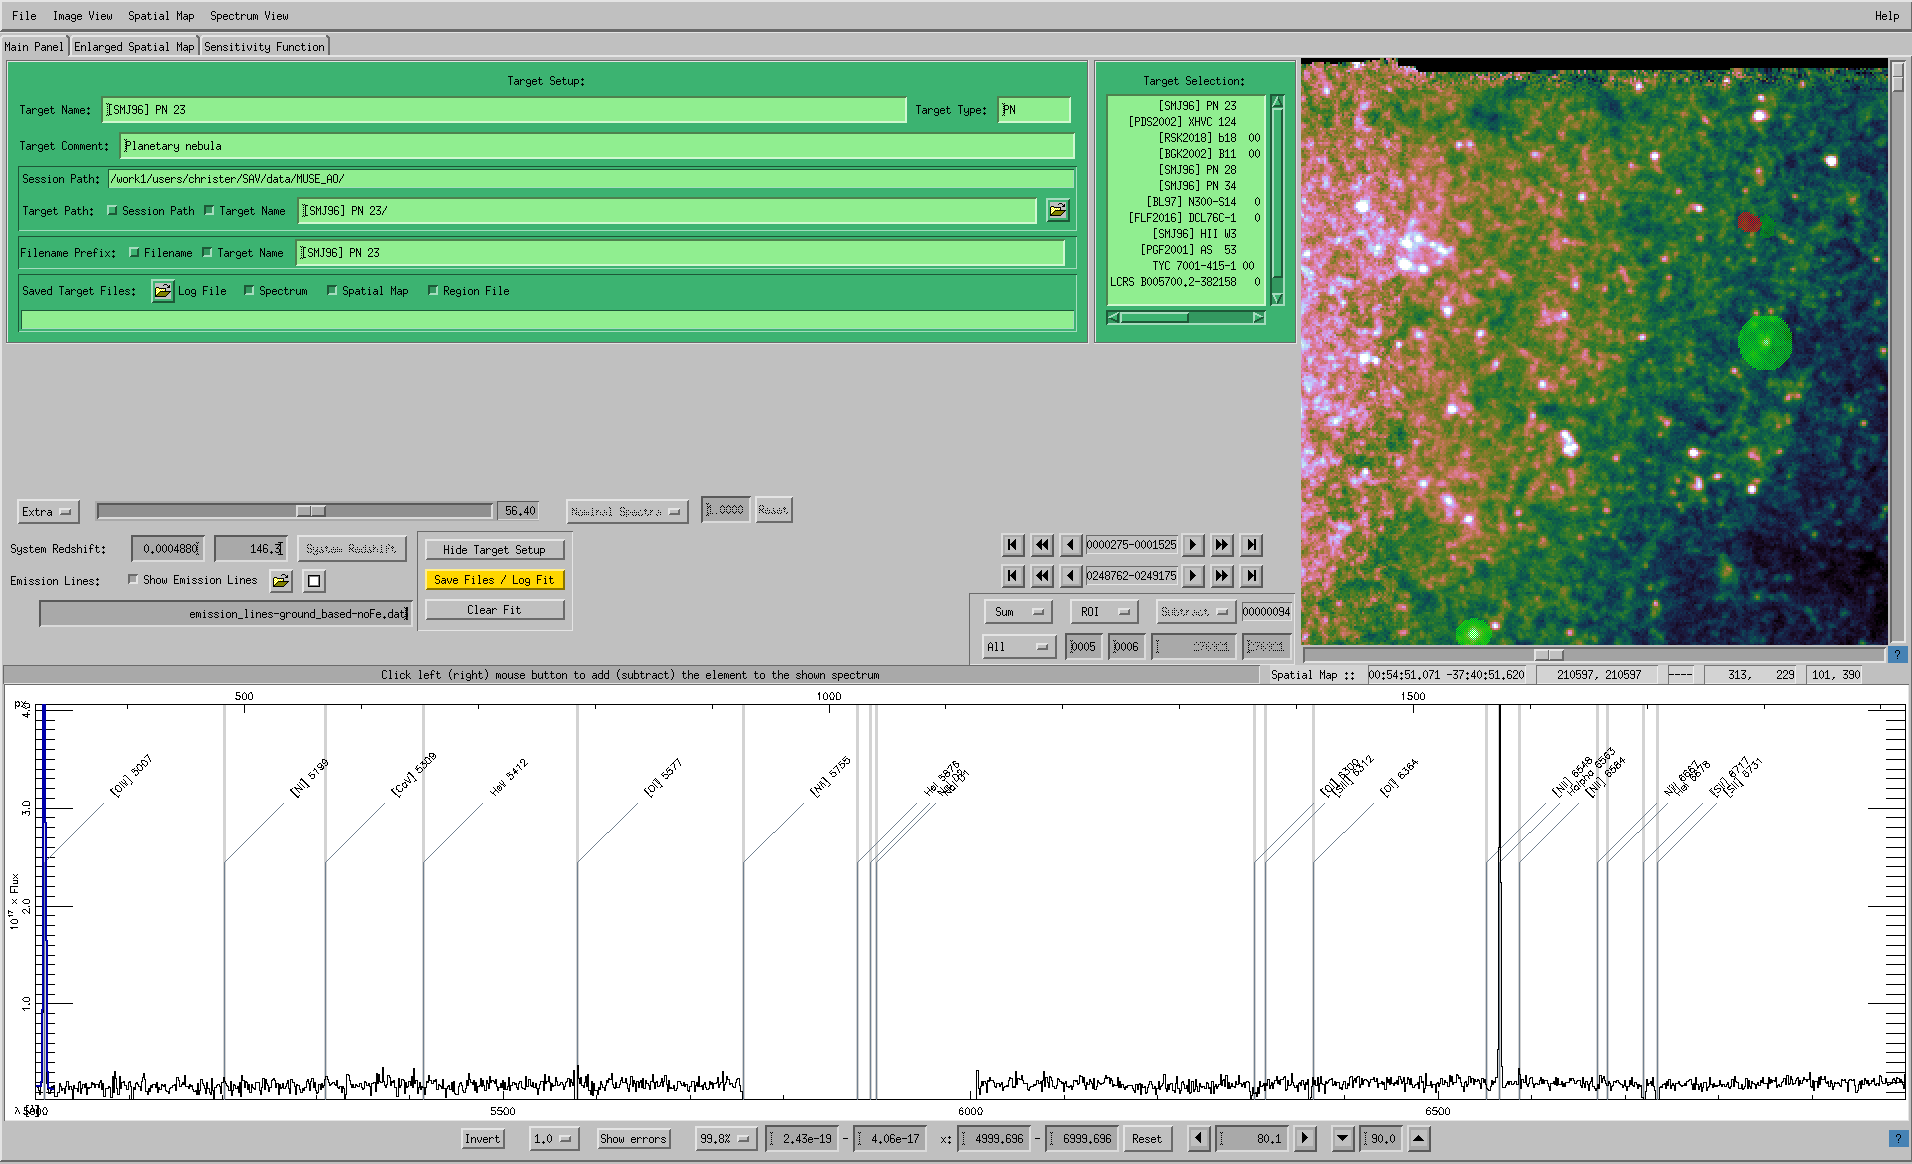
Install the Python module astroquery to activate automatic naming of selected regions in the spatial-map region of the spectrum viewer (as is seen in the screenshot above). The README file describes three different approaches to use astroquery: install the astroquery package on your system, install astroquery using virtualenv, or use Anaconda.
Steps using the Anaconda approach (which is the trickiest approach of the three):
i) Download Anaconda here.
ii) Follow the instructions to install Anaconda. We refer to the Anaconda installation directory below as $anaconda_path.
ii-b) If you, for example, use IDL version 8.8.0 (see below), which requires Python 3.6, 3.7, or 3.8, while Anaconda uses a more recent version of Python as default (such as Python 3.9), you could easily change to use Python 3.8 using the following command on the command line: conda install python=3.8.
iii) Install astroquery: conda install -c astropy astroquery
2) Download the Interactive Data Language (IDL)
Note!: IDL is a requirement, but no IDL license is required to use the p3d spectrum viewer or any other part of p3d with full functionality!
For simplicity, ask us for a link to download a p3d-specific IDL version (zip file) by sending an e-mail to p2w@users.sf.net or olestreicher@users.sf.net. (Another possibility is to follow the instructions on this page; to complete this step, it is necessary to register and become a verified user [also when not buying any license].)
Download the p3d-specific IDL distribution using the link in the e-mail; the file file is named something like p3d_idlrte-8.8.0.zip. Change directory to the p3d directory ($p3d_path) and extract the zip file. Use a command that looks something like the following (on a Linux or Mac-based machine):
p3d $ unzip p3d_idlrte-8.8.0.zipThe contents of the zip file are then (in this case) placed in $p3d_path/contrib/idlrte8.8.0/.
Optional: Add $p3d_path/vm to the system path to avoid having to enter the full path every time you use any tool of p3d, as in for example step 4 below. Here is an example on how to do this on the command line on a machine running Linux / Mac using the Bourne again shell (bash):
p3d $ export PATH=$PATH:`pwd`/vm
3) Retrieve the data cube(s)
Retrieve the data cubes you would like to look at. Go here and click the button "Search". It is also possible to select files using more restrictive search criteria.
Optional: The files are very large (multiple GiBs), so only retrieve one or a couple of files [to begin with].
4) Open the data with the p3d spectrum viewer
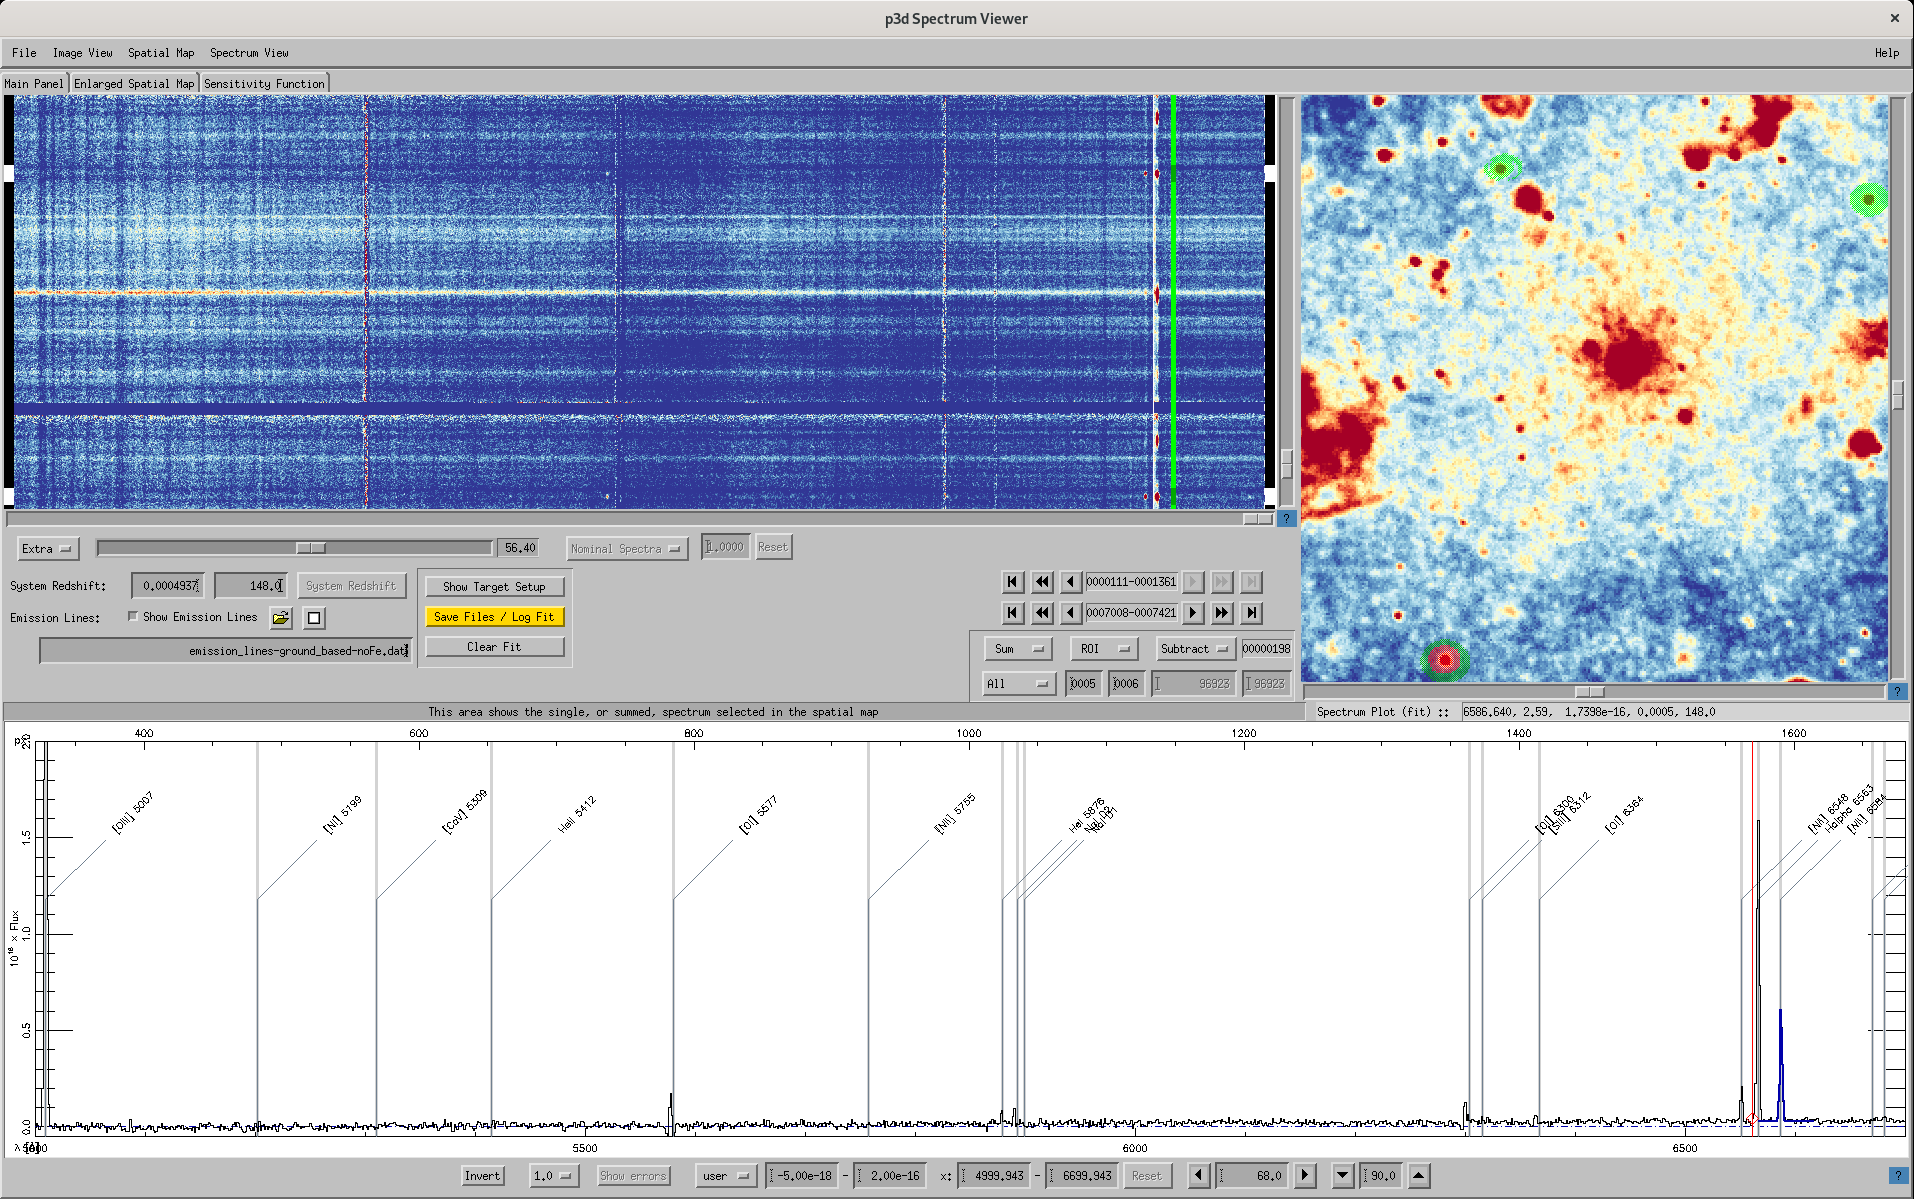
The final step is to open the data file using the spectrum viewer. Here are some examples on how to do that assuming that the name of the data cube file is DATACUBEFINALuser_20181012T013030_8f2ecd4e.fits. Most options can be combined.
Note!: We assume below that $p3d_path/vm has been added to the system path. If it hasn't, prefix each command with the string $p3d_path/vm/.
The fastest command to type is:p3d_dispatch.py sv DATACUBEFINALuser_20181012T013030_8f2ecd4e.fitswhich will open with spectrum viewer using most of the available screen. (The string sv is an abbreviation for the tool p3d_sv.)
Adjust the window size using the keyword winxysize:
p3d_dispatch.py sv DATACUBEFINALuser_20181012T013030_8f2ecd4e.fits winxysize=1920,1200which will open a window that is 1920 pixels wide and 1200 pixels tall.
Note!: There is no [white] space after the comma when specifying multiple values.
Save RAM by skipping error data and be a bit more informative:p3d_dispatch.py sv DATACUBEFINALuser_20181012T013030_8f2ecd4e.fits /noerrors /verbosewhich avoids loading the error data; this saves about half the amount of RAM. The keyword verbose prints some information in the terminal on what is happening.
Note!: Use a slash to set a keyword to 1; so, /noerrors, /verbose is equivalent to noerrors=1, verbose=1.
Save RAM by only loading a part of the wavelength range (alternative a):p3d_dispatch.py sv DATACUBEFINALuser_20181012T013030_8f2ecd4e.fits range=800,2500which loads a part of the wavelength range available in the [dispersion axis] pixel range 800–2500.
Save RAM by only loading a part of the wavelength range (alternative 1):
p3d_dispatch.py sv DATACUBEFINALuser_20181012T013030_8f2ecd4e.fits range=5000.,6800which loads a part of the wavelength range available in the wavelength range 5000–6800 Å; a wavelength range must be specified using at least one period character. Otherwise, the keyword will be interpreted as a pixel range.
And now?
Where to go from here? Please have a look at the p3d MUSE visualization tutorial, which is included in the p3d installation; this tutorial illustrates the available features of the spectrum viewer: $p3d_path/doc/tutorial_MUSE-WFM_visualization.pdf.